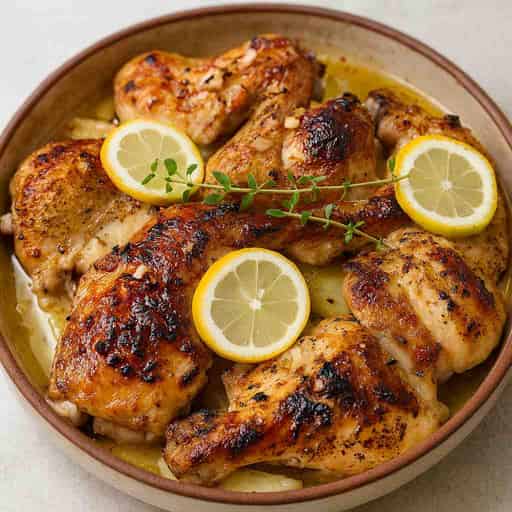
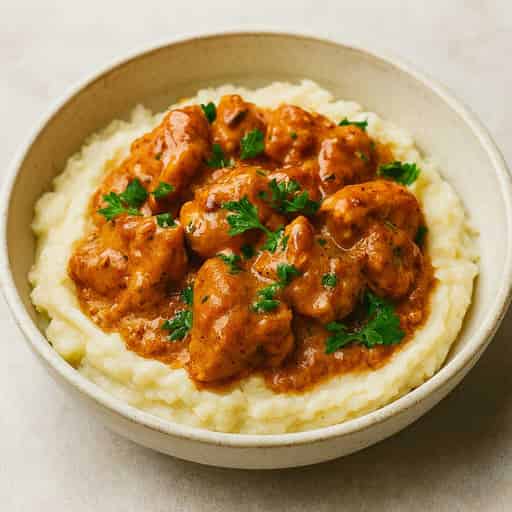
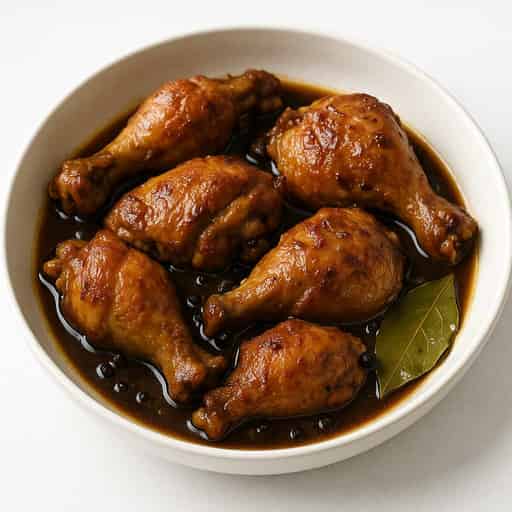
Crispy chicken Parmesan with tomato sauce, mozzarella, and Parmesan, baked until golden for a comforting, family-friendly chicken dinner.
Prep time
20 min
Cook time
30 min
Total time
50 min
Servings
4
Recipe Snapshot
DifficultyMedium
MealDinner
Family FriendlyYes
Chef's Tips
Pat the chicken dry before breading so the coating adheres evenly.
Keep most of the tomato sauce underneath the chicken to protect the crust from becoming soggy.
Use an instant-read thermometer and stop cooking when the thickest part reaches 74C (165F).
Tools Used
We use affiliate links, which may earn us a small commission at no extra cost to you.
Ingredients
Ingredients
Servings
4 servings1×
Scale
Ingredient amounts update instantly.
Breaded Chicken Cutlets
Tomato Sauce And Cheese
Instructions
Bread the Chicken
- 1
Heat the oven to 200C (400F). Season the chicken on both sides with the salt and pepper. Put the flour, beaten eggs, and panko mixed with 30 g Parmesan in three shallow bowls.
- 2
Coat each chicken piece in flour, then egg, then the Parmesan panko, pressing lightly so the crumbs adhere. Place the breaded cutlets on a tray while the oil heats.
Crisp the Cutlets
- 1
Heat the olive oil in a large skillet over medium heat. Fry the cutlets in batches for 2 to 3 minutes per side until golden; transfer them to a plate. They will finish cooking in the oven.
Bake the Chicken Parmesan
- 1
Stir the passata, garlic, and oregano together in a 23 x 33 cm baking dish. Arrange the crisp cutlets over the sauce, leaving their top surfaces mostly uncovered.
- 2
Divide the mozzarella and remaining Parmesan over the chicken. Bake for 12 to 15 minutes, until the cheese is bubbling and the thickest part of the chicken reaches 74C (165F).
- 3
Rest for 5 minutes, scatter with basil, and serve. Pair with a generous green salad or roasted vegetables for a balanced dinner.
Plan This Recipe
Save this recipe to one of your meal plans or browse your existing plans.
Learn More
Everything you want to know about this recipe.
Crispy Chicken Parmesan with Tomato Sauce
Crispy Chicken Parmesan with Tomato Sauce
This chicken Parmesan starts with thin, crisp chicken cutlets, then finishes in the oven with tomato sauce, mozzarella, and Parmesan. The key is keeping the sauce under the chicken rather than blanketing the crust with it. That gives you tender chicken and bubbling cheese while preserving a few crisp edges—the contrast that makes chicken Parmesan feel like more than a saucy chicken bake.
The recipe uses passata as a quick, clean tomato base, lifted with garlic and oregano. It is a practical weeknight approach, but the structure still feels special enough for a family dinner. Serve it with a substantial green salad or roasted vegetables; they add the freshness that balances the rich cheese and crisp coating.
Start with Thin, Even Cutlets
Start with Thin, Even Cutlets
Halving and pounding the chicken breasts to about 1 cm thick has two benefits: the cutlets cook evenly and the coating has more surface area to become crisp. Pat the chicken dry before seasoning and breading. Moisture on the surface makes flour clump and prevents the egg from forming an even layer for the panko to hold on to.
Use a simple three-stage breading line—flour, beaten egg, then Parmesan panko. Press the crumbs on lightly rather than compressing them into a hard shell. Fry in batches if needed, because crowding the pan lowers the oil temperature and leads to pale, greasy breading instead of an even golden crust.
Keep the Sauce Under the Chicken
Keep the Sauce Under the Chicken
The tomato sauce goes into the baking dish first, followed by the browned cutlets. Nestle the chicken in the sauce, but leave most of each top surface exposed. Add mozzarella and the remaining Parmesan only over the chicken. This layout lets the cheese melt into a satisfying blanket while the sauce stays bright and the crust keeps its texture.
Low-moisture mozzarella is the better choice for this method because it melts evenly without releasing the excess liquid that fresh mozzarella can produce. Bake only until the cheese is bubbling and the chicken reaches 74C (165F) in its thickest part. The brief rest after baking lets the sauce settle and makes the portions easier to lift from the dish.
Serve a Balanced Dinner
Serve a Balanced Dinner
One chicken Parmesan portion is a substantial main, so pair it with 150 to 250 g of salad or roasted vegetables rather than adding more cheese or bread by default. A lemony green salad, roasted courgettes, broccoli, or green beans all work well with the tomato sauce. If you would like a starch, add a modest serving of pasta, polenta, or crusty bread to catch the sauce.
For a training day, keep the chicken and vegetables as written and add a carbohydrate side such as cooked pasta or a piece of fruit. On a rest day, lean into the vegetables and use a smaller starch portion. The cutlets supply plenty of protein, so the side dish is mainly about the meal’s overall balance and enjoyment.
Make Ahead and Storage
Make Ahead and Storage
You can bread the chicken a day ahead and refrigerate it uncovered on a lined tray, then fry and bake it when needed. For leftovers, cool portions promptly and refrigerate for up to three days. Reheat them covered in a 180C oven until hot, uncovering for the final few minutes if you want to revive some crispness.
Chicken Parmesan also freezes well enough for a practical future dinner, although the coating will soften slightly after thawing. Freeze cooled portions in airtight containers for up to two months, then thaw overnight in the refrigerator before reheating. The tomato sauce and cheese protect the chicken from drying out, which makes this one of the more dependable baked chicken leftovers.
That balance is what makes it such a dependable comfort dish. Even with familiar ingredients, it still feels a little more complete than a plain fried chicken cutlet once everything is baked together.
Nutrition Facts
Nutrition Facts
Serving Size: 1 chicken Parmesan portion with tomato sauce
Calories 61031%
% Reference Intake*
Total Fat 26g37%
Saturated Fat 9g45%
Trans Fat 0g
Cholesterol 185mg
Sodium 980mg
Total Carbohydrates 38g15%
Dietary Fiber 5g
Sugars 9g10%
Protein 52g104%
* Reference intakes are based on an average adult's 8,400 kJ / 2,000 kcal diet. Your needs may be higher or lower.
FAQs
How do I keep chicken Parmesan from becoming soggy?
Brown the breaded cutlets before baking and spread the sauce in the dish, not over the top of the chicken. This leaves the coating exposed so it can retain some crunch beneath the cheese.
Can I prepare chicken Parmesan ahead of time?
You can bread the chicken up to one day ahead and refrigerate it on a lined tray. Fry and bake it just before serving for the best texture.
Can I freeze leftovers?
Yes. Cool portions promptly, freeze for up to two months, and reheat covered in the oven until hot throughout. The breading will be softer after freezing but the flavour remains good.
Community Reviews
See how other home cooks made this recipe, then share your own experience.
4.8
5 ratings
5
80%
4
20%
3
0%
2
0%
1
0%
How would you rate this recipe?
Share your experience and help others.
Theo
· 14 Sept 2026Keeping the sauce underneath the cutlets made a real difference. The chicken stayed crisp at the edges and the cheese browned beautifully.
EllaEats
· 3 Jul 2025Next time I’ll double the sauce—it was so good we wanted extra for dipping.
KitchenDad
· 11 Jul 2024Served this with spaghetti and garlic bread. My kids went for seconds. New family favorite!
MariaCooks
· 2 Feb 2024Loved how easy this was to follow—tasted like restaurant-quality!
FoodLover99
· 16 Oct 2023This was a hit with my family! The chicken was crispy and the cheese was perfectly melted. Definitely making this again!
Create Your Own Recipe
Add your personal creations and build your own recipe collection.