20 May 2026
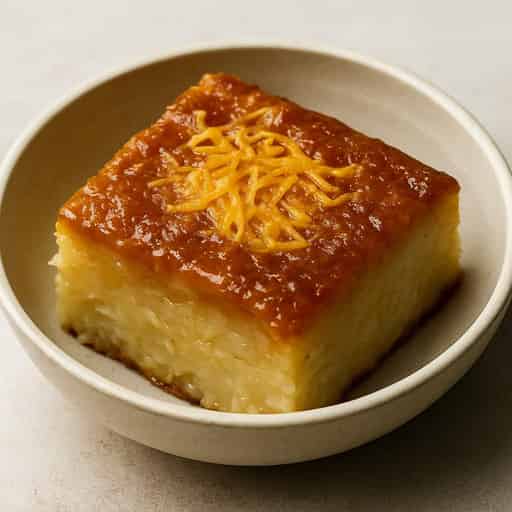
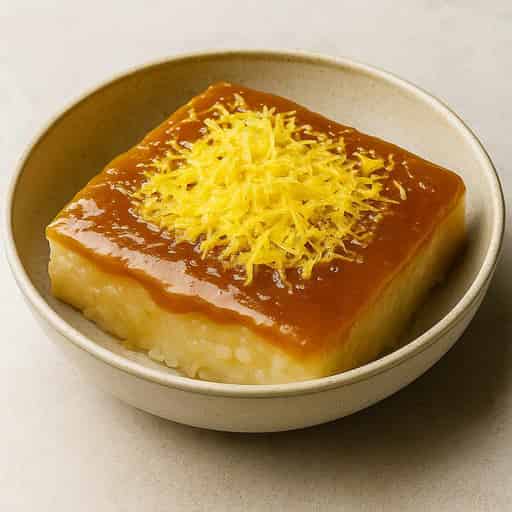
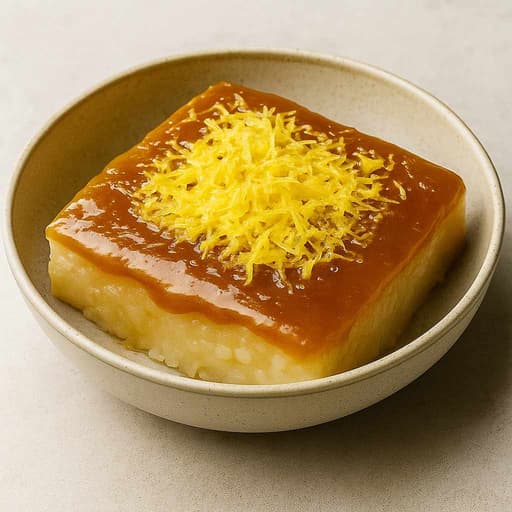
Home-Style Cassava Cake with Soft Cheese Topping
RecipeShare Test Kitchen
Home-style cassava cake with a coconut-rich base and soft cheese topping, baked as a family tray dessert for merienda, celebrations, and make-ahead serving.
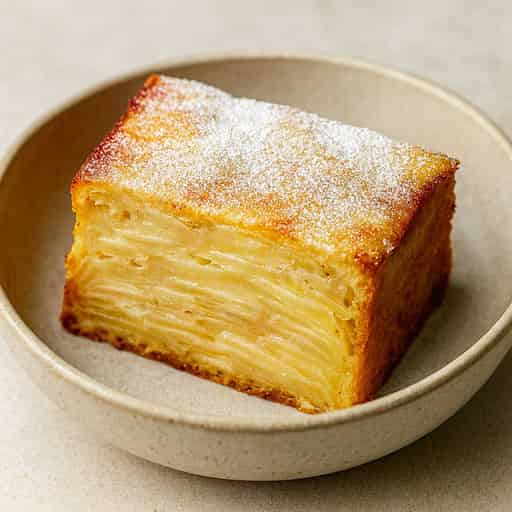
Home-Style Cassava Cake with Soft Cheese Topping
This cassava cake is the kind of home-style tray bake that fits family tables better than showy dessert styling. The base is rich with coconut and condensed milk, and the topping stays soft instead of baking into a firm crust.
It works well when you want a cassava cake that feels familiar and generous: easy to portion, easy to bring to gatherings, and soft enough to serve warm or slightly chilled.
Why This Home-Style Version Works
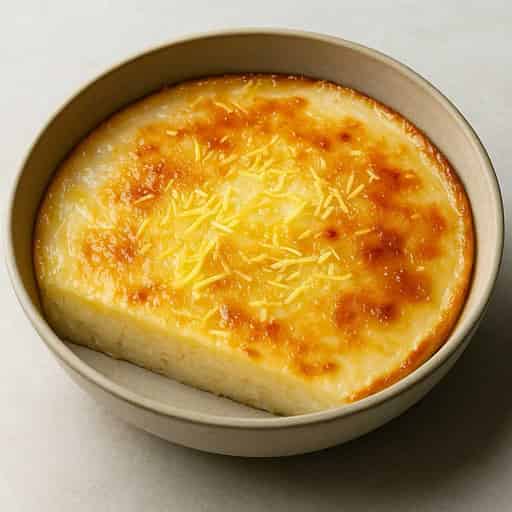
Cassava provides the chewy-soft structure while coconut milk and condensed milk add richness. Baking the base first prevents the topping from sinking and helps create two clear layers.
A short final bake sets the topping while keeping it soft rather than heavily browned.
Ingredient Notes
Fresh cassava gives the cleanest texture, but frozen grated cassava works if well drained. Use mild cheddar or quick-melt cheese for balanced saltiness.
Do not overbake; slight center movement before topping is fine.
Best Way To Serve It
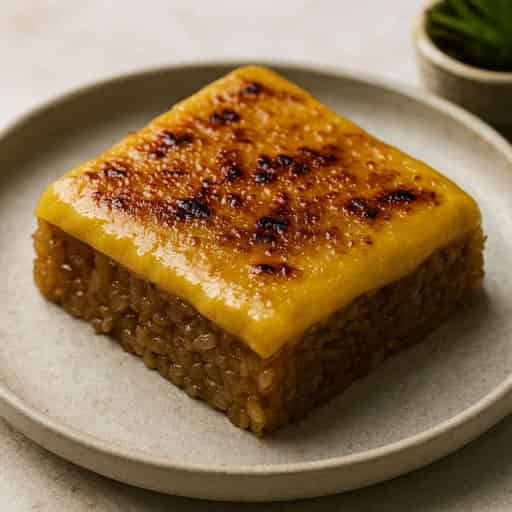
This is a good family-tray dessert for merienda, birthdays, and bring-a-dish tables. Chill it briefly if you want tidy slices, or warm it lightly if you want the topping to stay softer and more custardy.
Storage
Store covered at room temperature for up to 1 day, then refrigerate up to 4 days. Warm slices briefly before serving if you prefer softer texture.
If you want the main cassava cake version with a more standard topping profile, see Cassava Cake.
Home-Style Cassava Cake with Soft Cheese Topping
RecipeShare Test KitchenHome-style cassava cake with a coconut-rich base and soft cheese topping, baked as a family tray dessert for merienda, celebrations, and make-ahead serving.
Chef's Tips
Use freshly grated cassava when possible for best texture.
If using frozen cassava, thaw and squeeze out excess water.
Cool fully before slicing for cleaner portions.
Broil briefly at the end for a lightly bronzed cheesy top.
Tools Used
Mixing Bowl(opens in a new tab)Whisk(opens in a new tab)Baking Tin(opens in a new tab)Spatula(opens in a new tab)
We use affiliate links, which may earn us a small commission at no extra cost to you.
Ingredients
USMetric
Cassava Batter
Coconut Cheese Topping
Instructions
Prep and Mix Batter
- 1
Preheat the oven to 175°C (350°F) and line a 23 x 33 cm baking tin.
- 2
Whisk the coconut milk, evaporated milk, condensed milk, melted butter, and eggs until smooth.
- 3
Whisk in the milk powder if using, then fold in the grated cassava.
- 4
Stir in the sugar only if you want a slightly sweeter batter.
Bake Base and Add Topping
- 1
Bake the cassava base for 45 to 55 minutes until mostly set.
- 2
Whisk the topping coconut milk, condensed milk, and egg until smooth.
- 3
Pour the topping over the hot base and scatter the grated cheese over the surface.
- 4
Bake 10 to 15 minutes more until the top looks glossy and softly set.
Cool and Serve
- 1
Cool completely before slicing.
- 2
Chill for neater slices, then warm lightly before serving if preferred.
Save, Plan & Shop Smarter
Create and edit your own recipes, import from most websites, plan your week, and build smart grocery lists.
Import recipes from most websites
Create and edit your own recipes
Plan your week with the Meal Planner
Mark favourites for quick access
Build grocery lists from your meal plan
Tick off pantry items you already have
Nutrition Facts
Serving Size: 1 slice (1/16 tray)
Calories 330
% Daily Value*
Total Fat 14g18%
Saturated Fat 6g30%
Trans Fat 0g
Cholesterol 50mg17%
Sodium 120mg5%
Total Carbohydrates 47g17%
Dietary Fiber 1g4%
Sugars 28g
Protein 6g
* Percent Daily Values are based on a 2,000 calorie diet. Your daily values may be higher or lower depending on your calorie needs.
Create your own recipe
Add your personal creations and build your own recipe collection.
Loading...